
VPS Setup for Live Trading
Why a VPS instead of your local machine?
Running Jesse for live trading on your local computer is possible, but it's not recommended for production use. Your computer might go to sleep, lose internet connectivity, or be rebooted unexpectedly — any of which would interrupt your live trading session at the worst possible moment.
A VPS (Virtual Private Server) runs 24/7 in a data center with a stable internet connection and reliable uptime. This is the recommended way to run Jesse for live trading.
TIP
DigitalOcean is a great and affordable choice for hosting Jesse. If you sign up through our affiliate link at jesse.trade/digitalocean, you'll receive free credits to get started — and you'll also be supporting the Jesse project, which we truly appreciate!
Step 1: Create a Droplet
If you haven't signed up yet, use our affiliate link at jesse.trade/digitalocean to get free credits. Then head to DigitalOcean and create a new droplet.
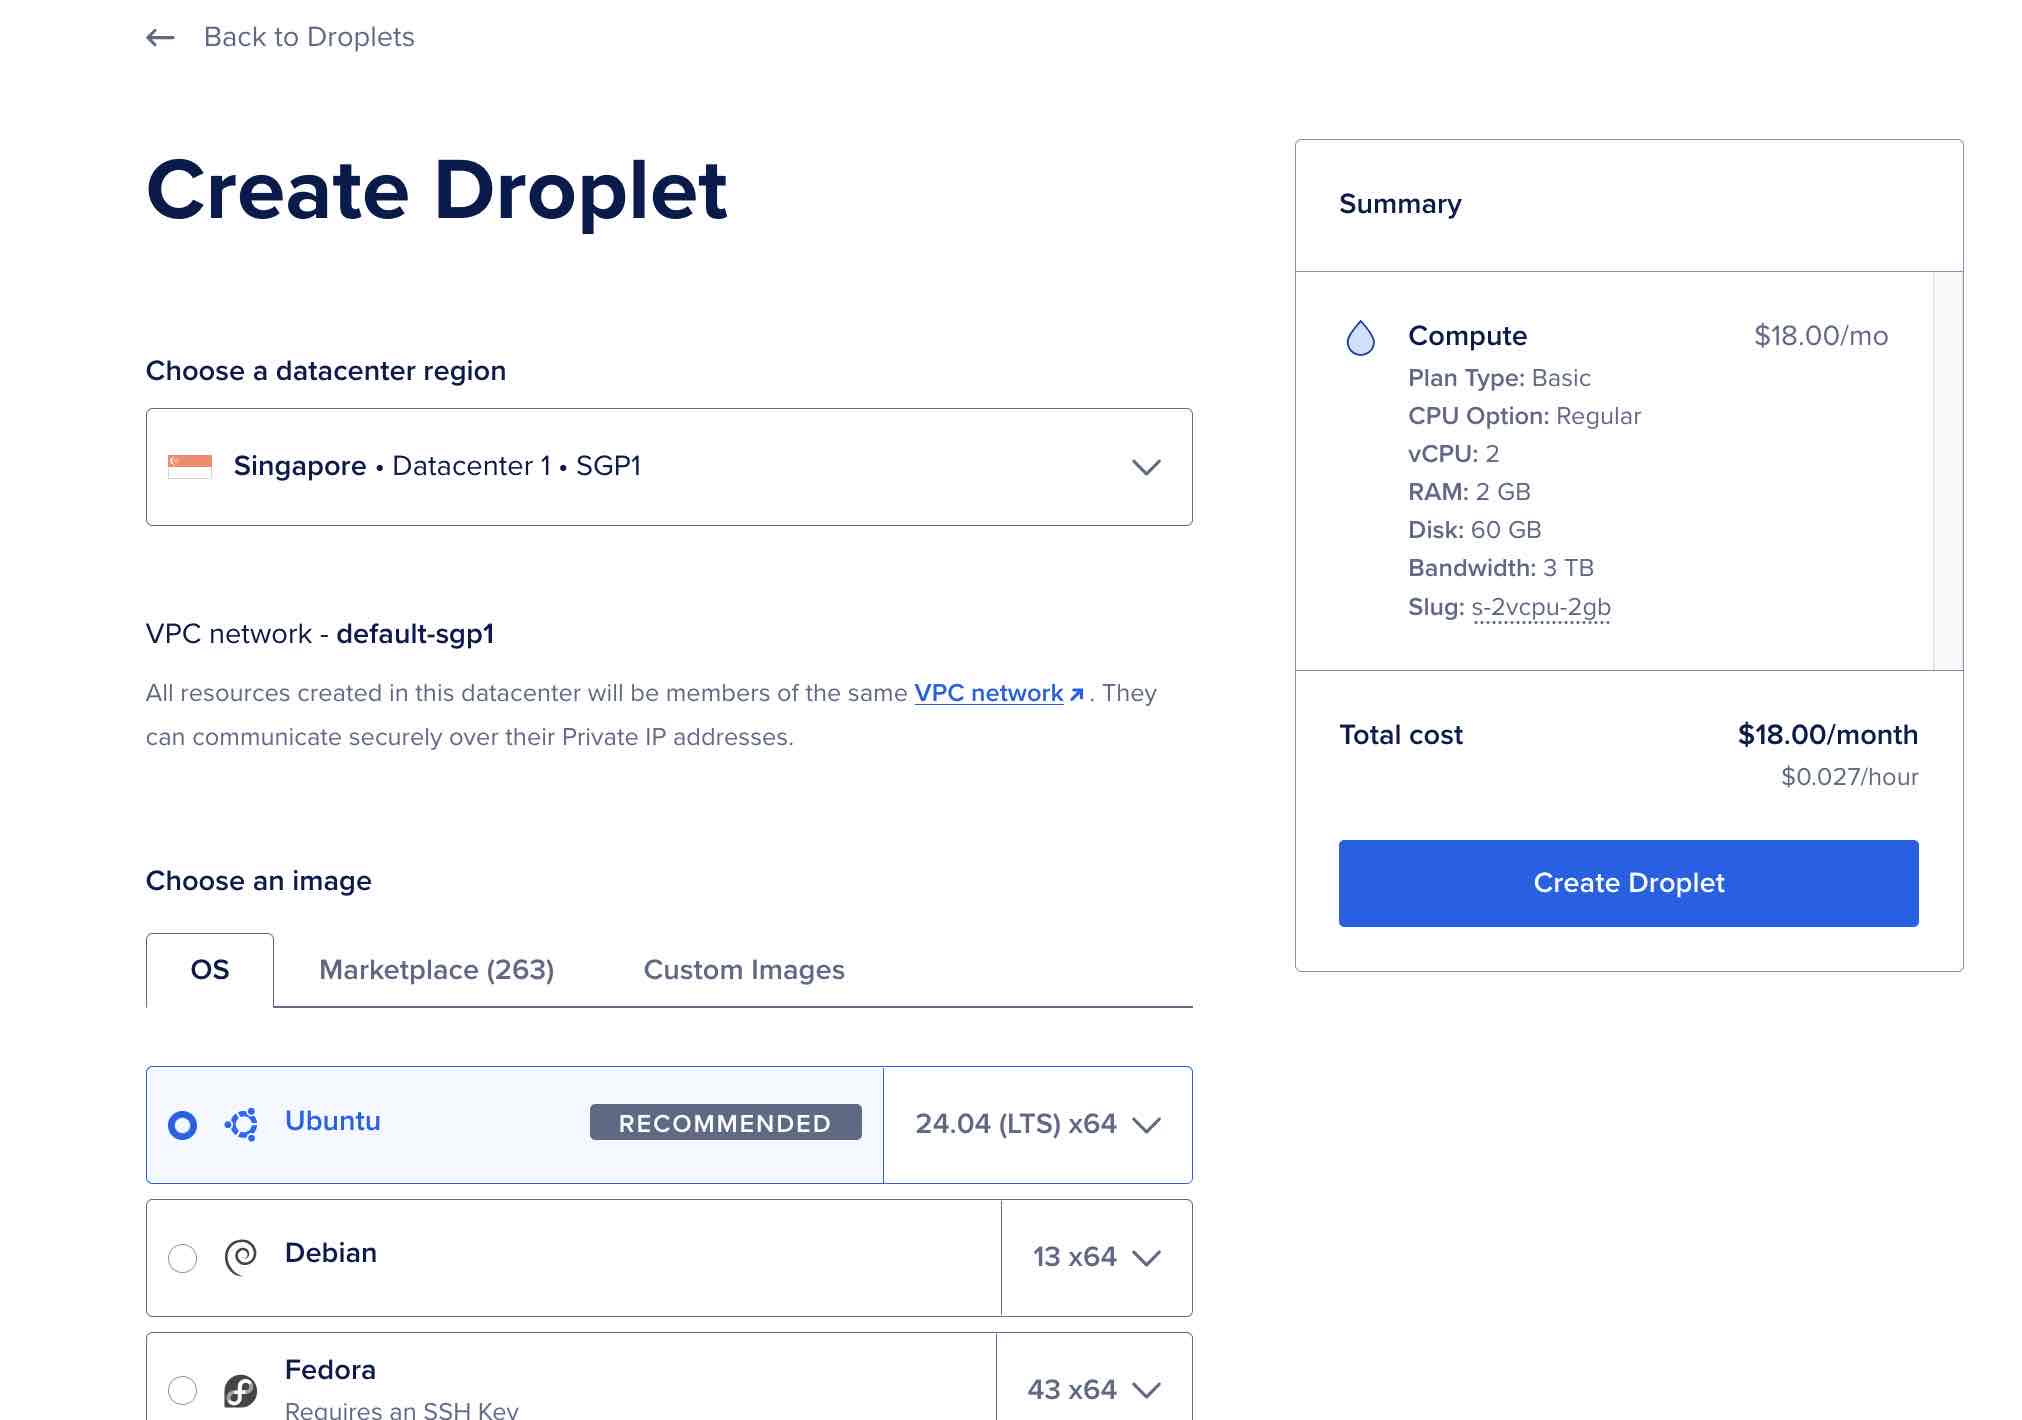
Choose a datacenter region closest to the exchange you'll be trading on to minimize latency. Avoid US regions — many crypto exchanges restrict or block US-based connections. Since most major crypto exchanges are located in East Asia, Singapore is generally the best choice.
For the OS, select Ubuntu (the latest LTS version is recommended).
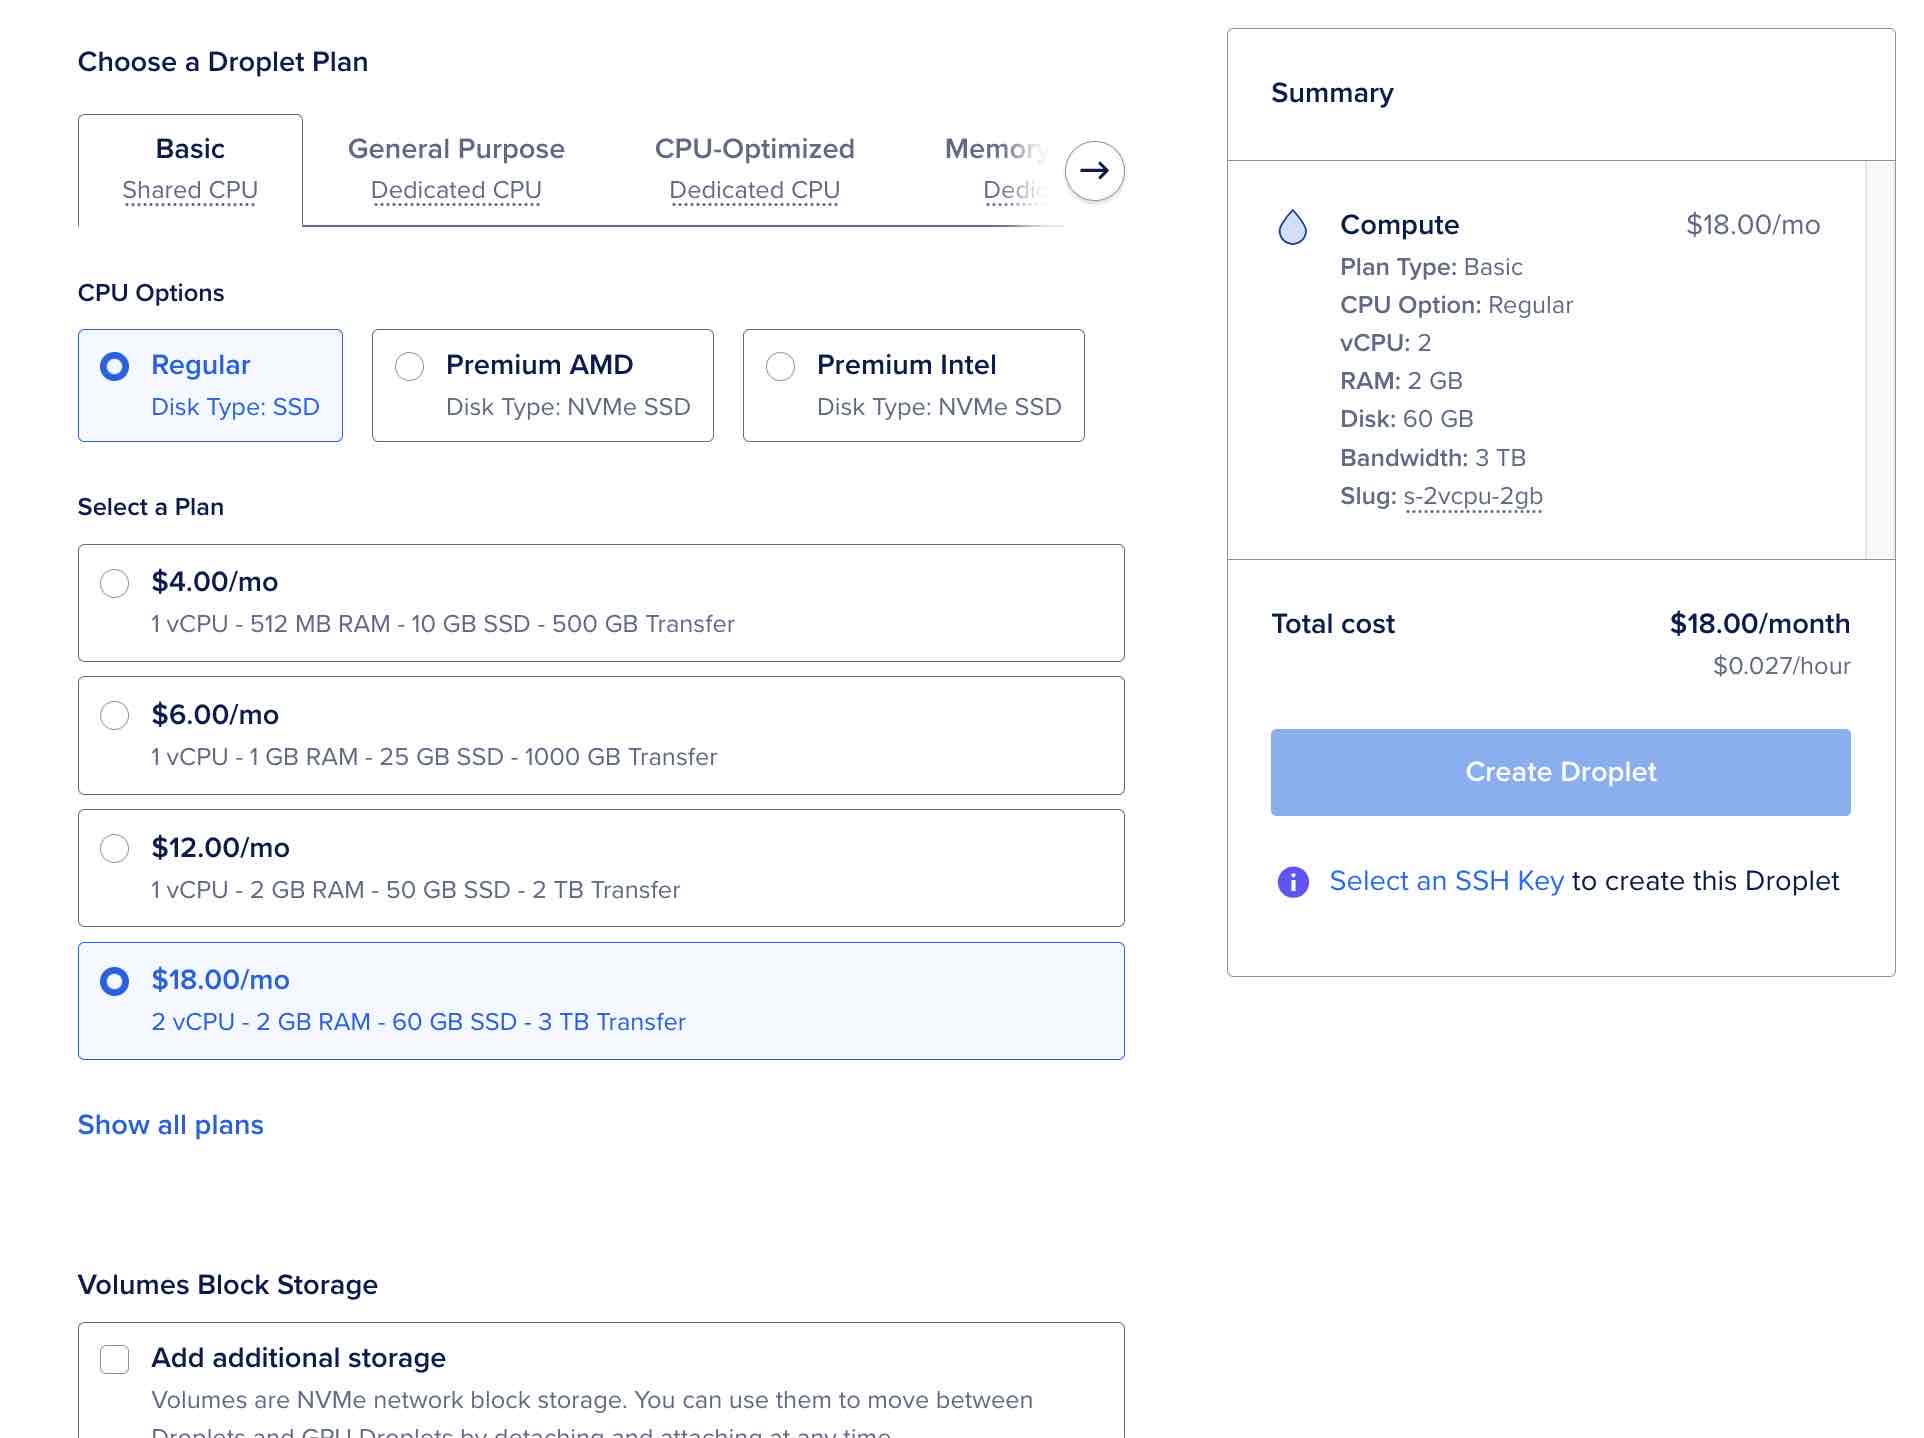
Choose a plan. We recommend at least 2 GB of RAM. As for CPU, one core is enough for most people, but if you can afford it, 2 CPU cores gives you a comfortable buffer. The Basic $18/mo plan (2 vCPU / 2 GB RAM) is a solid starting point. You can always resize later if needed.
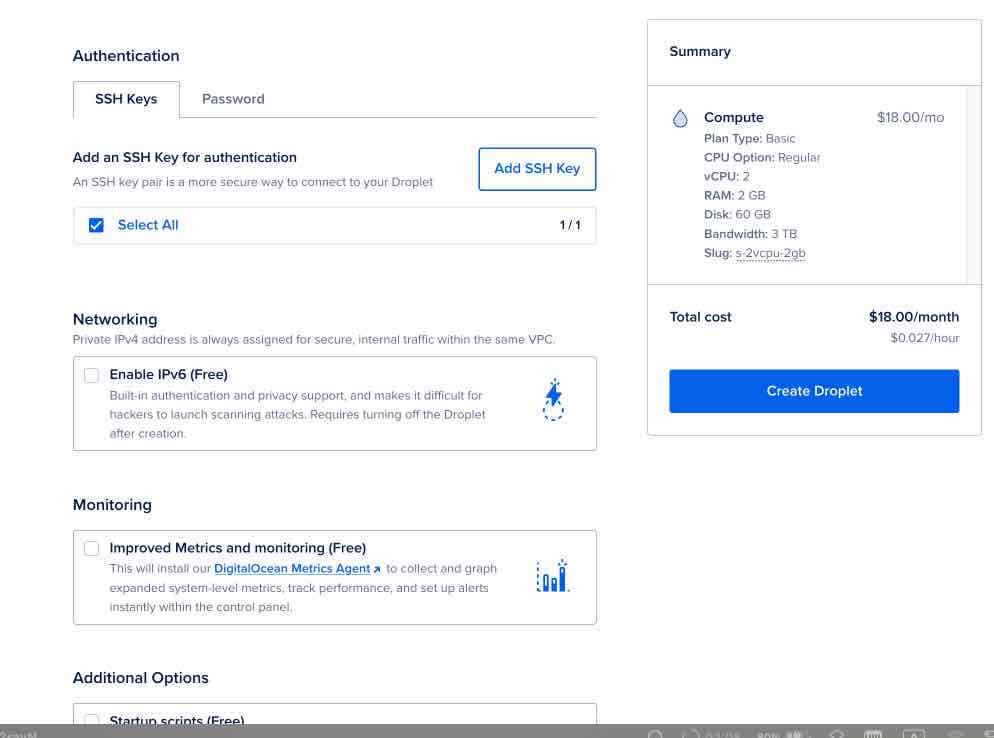
For Authentication, it is strongly recommended to use SSH Keys instead of a password. This is both more convenient and significantly more secure.
Once you've configured everything, click Create Droplet.
Step 2: Set Up a Firewall
Once your droplet is ready, the next step is to secure it with a firewall. Head over to the Security page where we cover how to set up a DigitalOcean firewall in detail, including which ports to open and how to restrict access to your own IP address.
Step 3: Install Jesse
With your server created and firewall configured, you're ready to install Jesse. For production servers, we highly recommend following the Docker setup — it is much easier to both set up and update later.